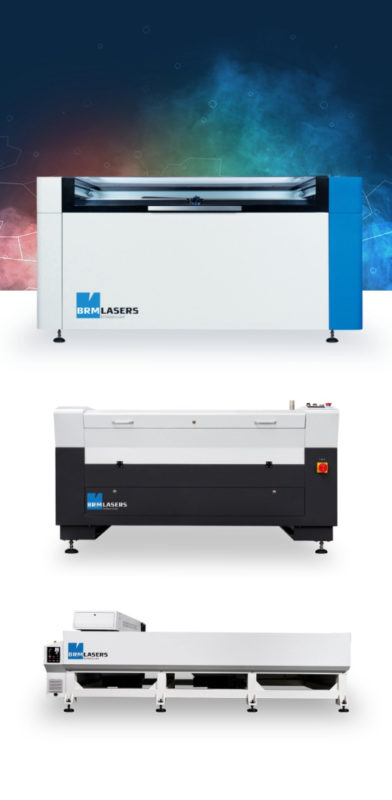
These laser machines are equipped with the highest safety standards of laser class 1. Standard delivery includes a 2-year warranty and software updates. Also included as standard are dust-free guide rails, LightBurn software, ultrasonic autofocus, red pointer, Siemens safety components, software-controlled air valve, and exhaust delay.
These laser machines are equipped with the highest safety standards of laser class 1. Standard delivery includes a 2-year warranty and software updates. Also included as standard are LightBurn software, red pointer, and safety components from Siemens.
This machine with an - literally - open bed can process large sheet materials. This allows you to effortlessly cut large objects or easily obtain large quantities from a single sheet.
The laser head of my BRM Original is not at a 90° angle any more
How come your laser head is not at a 90° angle anymore?
If you have had a collision between the laser head and your material, this may have happened with a lot of force. As a result, the laser head may not be positioned squarely. If the laser head is not exactly at a 90° angle, this can affect your cutting and engraving results. For example, you may have less power or a shadow line may appear next to the cutting or engraving line.
Checking that your laser head is at a 90° angle
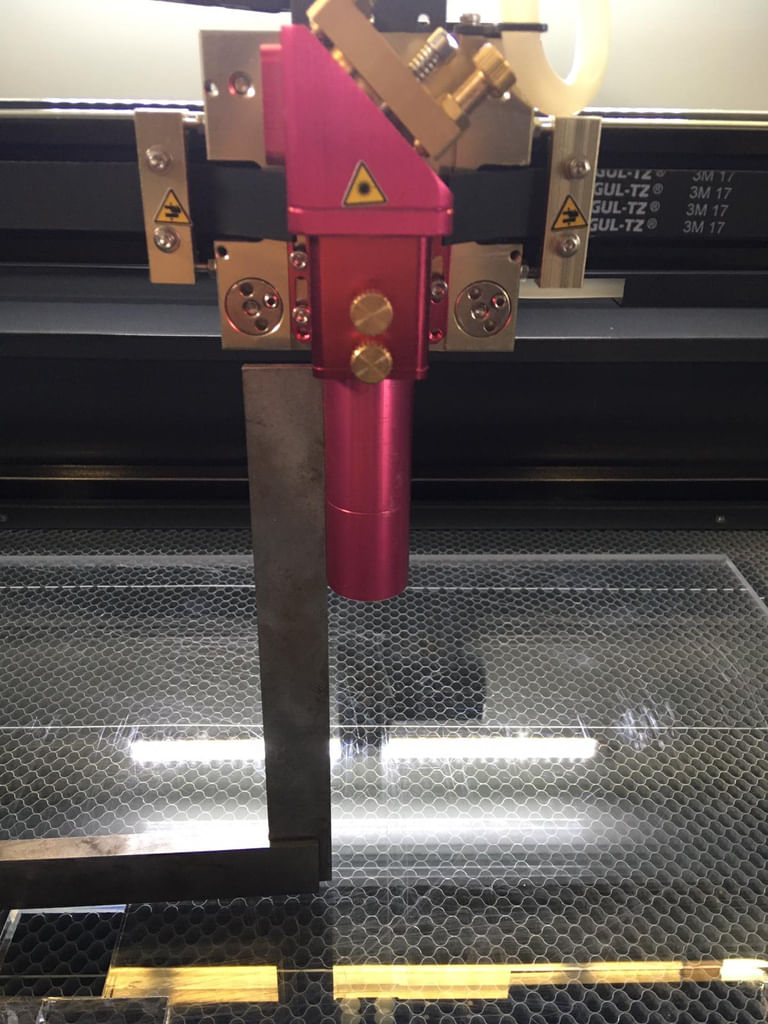
The first thing to do is to check whether the head is really not at a 90° angle. Position the laser head approximately in the middle of your work area. Place something in your work area, under the laser head, that is completely even and has the same height everywhere. For example, consider a piece of acrylic.
Remove the nozzle mount with nozzle from the lens shaft. The nozzle mount is the ring that holds the air connection.
Then take a right-angle square tool and place it on the acrylic against the laser head. If the right-angle square tool lines up nicely, the head is at 90 degrees. Should there be any space between the laser head and the right-angle square tool, you need to adjust the laser head.
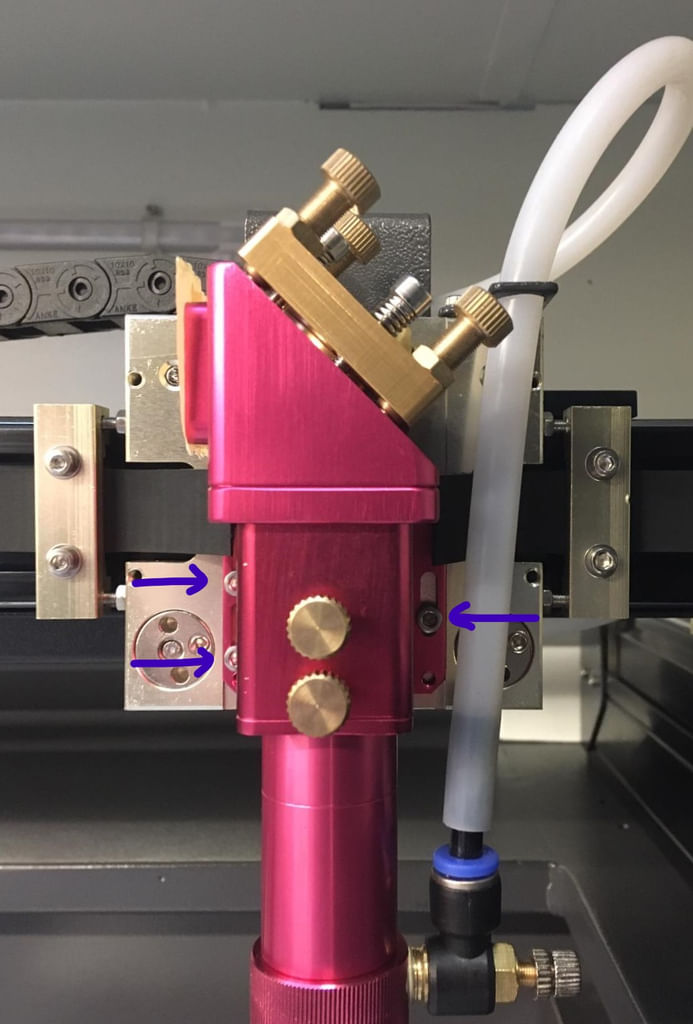
When adjusting the laser head, first remove the lens shaft. Put the lens shaft somewhere safe so nothing can happen to it. When you look at the laser head, you will see two slots with small Allen bolts on the left side of it. On the right side of the laser head, there is one slot with an Allen bolt.
Loosen 2 of the Allen bolts a little. Loosen the third one slightly but not more than that. You should be able to move the laser head, but it should not drop. By leaving one Allen bolt reasonably tight, you can still adjust but the laser head will remain at the correct height.
While adjusting the laser head, keep looking at the right-angle square tool to ensure the laser head will be at a 90° angle. As soon as it is at a 90° angle, you can tighten all Allen bolts again. After you have tightened everything, check whether the laser head is still at a 90° angle by using the right-angle square tool.
Once you have checked that the laser head is indeed at a 90° angle again, you can replace the lens shaft. Replace the nozzle mount with the nozzle and air coupling and reconnect the air hose to the air coupling.
Because you have made adjustments to the laser head, the last thing you need to do is check the mirror alignment and adjust it where necessary to ensure the laser beam hits your material correctly again.
If you cannot work this out, please send us a ticket and we will help you.