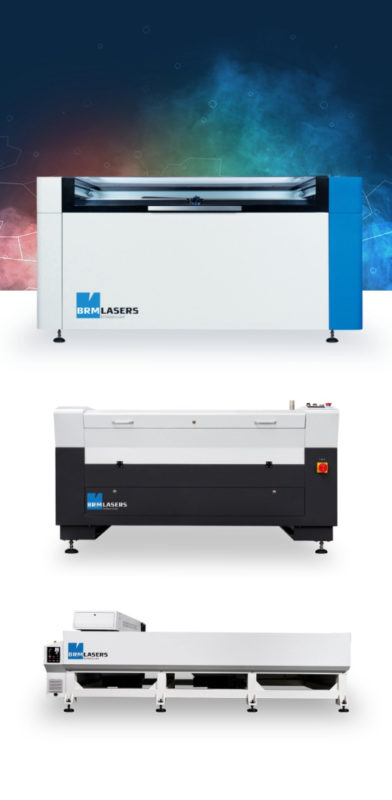
These laser machines are equipped with the highest safety standards of laser class 1. Standard delivery includes a 2-year warranty and software updates. Also included as standard are dust-free guide rails, LightBurn software, ultrasonic autofocus, red pointer, Siemens safety components, software-controlled air valve, and exhaust delay.
These laser machines are equipped with the highest safety standards of laser class 1. Standard delivery includes a 2-year warranty and software updates. Also included as standard are LightBurn software, red pointer, and safety components from Siemens.
This machine with an - literally - open bed can process large sheet materials. This allows you to effortlessly cut large objects or easily obtain large quantities from a single sheet.
Home/Support/General/Are there different lenses for the laser machine and which lens is used for what?
Are there different lenses for the laser machine and which lens is used for what?
We offer several lenses that can be used with the laser machine. Each lens has its specific qualities and applications. This text will give you an idea of which lenses can be used and why you should choose just that particular lens for your application.
Which lenses are there and what are their characteristics?
We carry 3 different lenses in our range. These are the 50.8 mm, the 63.5 mm and the 101.6 mm lens. Each lens has its specific qualities and is therefore suited for different applications.
When you wish to engrave a lot and in great detail on for instance wood or stone, the 50.8 mm lens will provide the best result. With the 50.8 mm lens, there is only a small distance at which the laser beam is in focus. When the focus length is short, the cutting / engraving line is narrower than when the focus length is larger.
This, however, also means that the 50.8 mm is less suitable for cutting. You can still cut thin materials, such as paper and cardboard. Should you want to cut materials that are a bit thicker (3 mm +), you would be better off choosing a different lens.
For example, the 63.5 mm lens. The focal length of this lens is greater than that of the 50.8 mm lens. This makes it a good lens for engraving, even though the cutting / engraving line will be slightly wider than with the 50.8 mm lens. However, you can also cut thin to medium thickness materials with this lens. Using this lens, you can cut up to about 8 mm thickness and achieve a nice clean result.
If you want to cut through thicker materials, you will get the best results with a 101.6 mm lens. Using this lens, you can cut up to a thickness of approximately 15 mm (provided that the mirror alignment is absolutely perfect). The cutting / engraving line is somewhat wider, which makes this lens less suitable for engraving.
Is it possible to use all lenses in my machine?
Unfortunately, it is not possible to use the 63.5 mm lens in the BRM Budget machines. The 50.8 mm and 101.6 mm lenses are compatible. The lens shaft of the BRM Budget machines usually has two positions. The position at the bottom (on the side where the material is located) of the lens shaft is suitable for the 50.8 mm lens. The upper position (on the side of the mirror in the laser head) of the lens shaft is intended for the 101.6 mm lens.
If you own a BRM Budget laser with a lens shaft that has only one position, it is still possible to use both lenses. To do so, you will need to attach a different nozzle to the lens shaft to ensure that you get the correct focus distance.
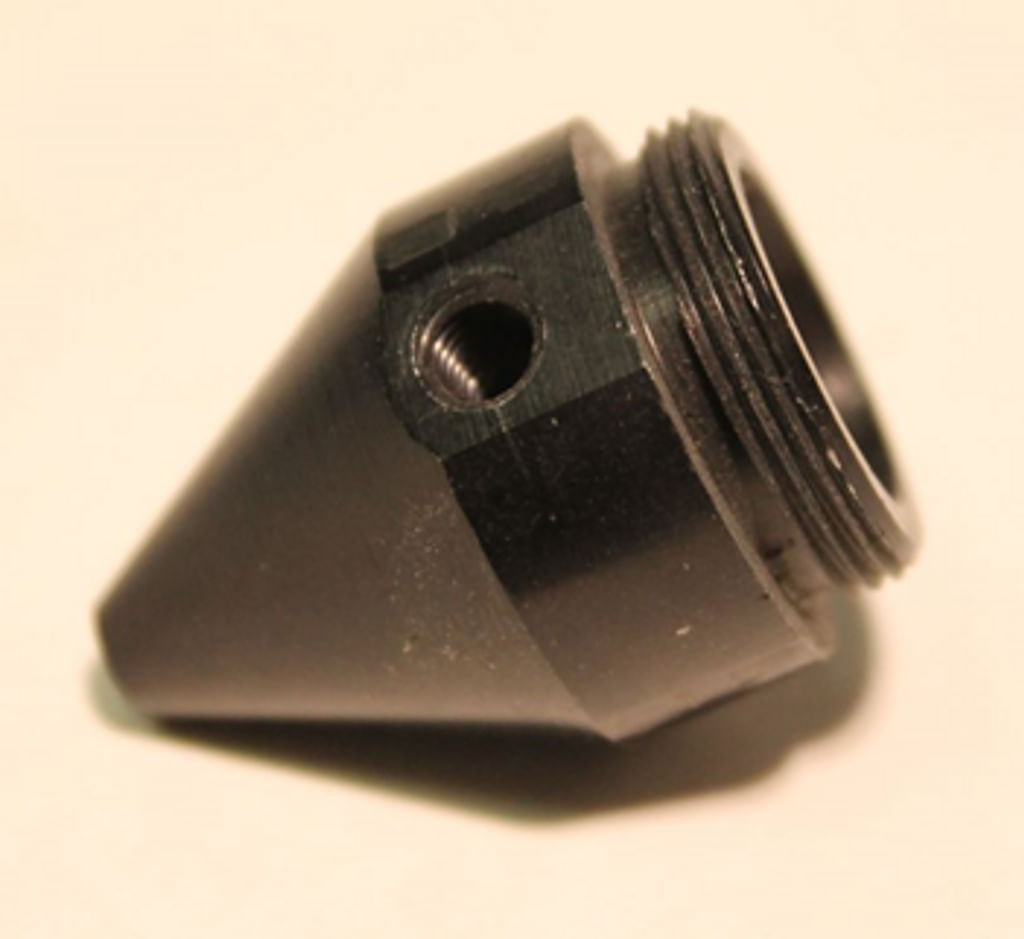
Nozzle for the 50.8 mm lens
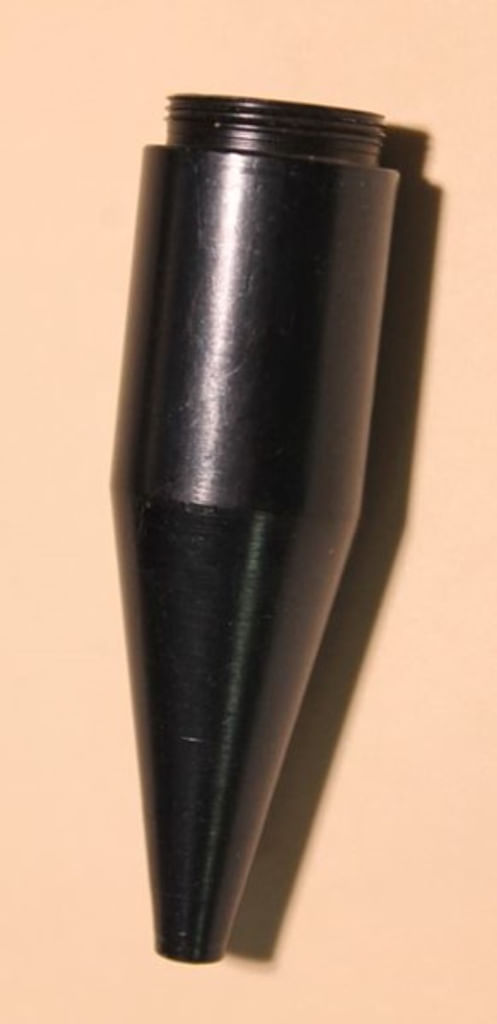
Nozzle for the 101.6 mm lens
If you have a BRM Original then you have a pink / red lens shaft. This lens shaft has a lens position on both sides. When you rotate the lens shaft 180 degrees, you will have the third lens position. This allows you to use only one lens shaft, in which all lenses can be used. However, the lens must be mounted in the lens shaft correctly. If you mount the lens in the wrong position, the focus will not be on your material but above or below your material. This will not give you good results.
On the Pro and Slims, it is possible to use all 3 different lenses. Each lens has its specific lens shaft and each lens shaft has its specific position. For instance, the lens shaft for the 63.5 mm lens cannot be used for the other 2 lenses because then you would not be able to get the correct focus on your material. So when you are going to work with another lens, you will also have to use another lens shaft, suitable for that particular lens, to obtain results.
How do I mount the lens in the lens shaft?
When placing a lens in the lens shaft, the lens must be positioned correctly.
A lens has two sides. A convex side and a flat side. The convex side of the lens must always point upwards, towards the mirror. If the lens is placed the wrong way around, the laser beam will be in focus in the wrong place and you will get no or bad cutting / engraving results.
For the BRM Original, BRM Pro and BRM Slim, you also need to place a white lens ring between the lens and the lens fixation ring.
Determine focus height
Once you have placed the right lens in the right position, you need to determine the focus height. The focus height is the height at which the laser beam is nicely focused, resulting in a thin beam with a lot of power. A properly focused laser beam is perfect for cutting and engraving. If it is out of focus, you will get thick lines, you will not be able to cut through your material and you will not get a good result.
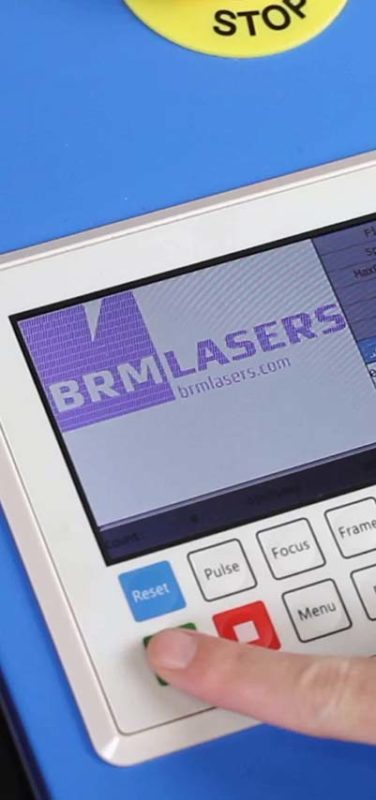
The easiest way to determine the focus height is to apply pulses at different heights. Place a piece of leftover material on your work area. You can stick a piece of masking tape on it to see the pulses clearly. Position the laser head above the material. Set a height of, for example, 10 mm between the nozzle and your material.
Close the machine cover and press the pulse button to apply a pulse. Move the laser head slightly and set a height of 9 mm. Repeat the pulse. Continue like this and at some point, you will see that pulse becoming smaller and larger again. When the pulse is at its smallest, you have determined the correct focus height for that lens and you know you can achieve the best quality with that lens at that height.
If the pulse remains the same size at all heights, you will need to check whether you have positioned the right lens in the right place and whether the lens is mounted with the convex side up.
If you still have questions or if you can't work it out, you can always submit a ticket with pictures of your results.